One of my projects was to finish a 12x12 Disney scrapbook from a trip my family went on in October 2006! Yes, two years ago...what can I say?! I find that doing my page layouts first and then going back to add the pictures is much easier for me. If I did a page, added some pictures and then embellishments I would feel like I hadn't accomplished anything by doing ONE page.
In the spring I did the entire layout. Then I went about printing ALL of the pictures that looked good. I printed a lot of them! (Better to be safe than sorry.) THEN I cropped them all on a different day. That was all in the spring. Then a few weeks ago I got the bug again and finally finished it...journaling and all!
We finally have a book to show off our trip. It was a BLAST! We went to Disney World in October and went to the "Mickey's Not So Scary Halloween". I have to say that I HIGHLY recommend going during October. Not too many kids have breaks during then so the traffic in the parks is low. The weather is spectacular and the idea of trick or treating with the characters also dressed up in costumes is too hard to resist!
Anyway, the point of this blog was to show you how I did my first "paper piecing" on one of the Halloween pages. I wanted something different that would pop off the page. I think it came out so cute!
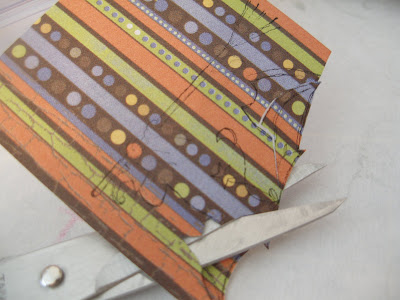
First I chose the patterned paper I wanted to use for the witch's hat, cape, shoes and broom. I stamped the witch three times; once on the white cardstock I was using for the main image, then once on the orange paper so I could cut out the hat and finally on the striped paper so I could cut out the cape.
You can see this in the following three images:


Here I used my Stampin' Up! chalks and aqua painter to color in my "witch". Notice the shading to highlight and lowlight the image?
Then, using my tweezers and my 2-way glue pen I placed the pieces I had cut out over the main image. I also stamped the star and crescent moon onto a piece of Yo-Yo Yellow cardstock and cut them out.
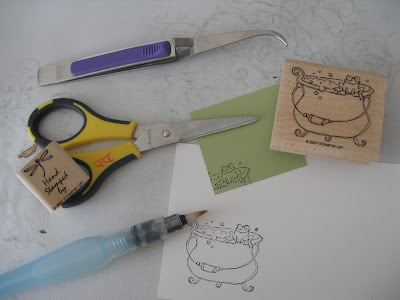
I went on to stamp my cauldron once on a piece of white cardstock for my main image and then stamped the portion with the frog on it on some Certainly Celery cardstock and cut him out.
I also stamped the bubbles portion of the image onto some Almost Amethyst designer series paper. I painstakingly (with the emphasis on "pain") cut out even the tiniest bubbles. I colored in the cauldron using my aqua painter and chalks making sure to add highlights and lowlights.

To add some dimension I used my Crystal Effects to round out and glaze the frog's eyes and the bubbles in the cauldron. Then using my 18 gauge copper wire I made the cauldron's handle and ladle. I also cut a small piece of Creamy Caramel cardstock to glue onto the wire to show the "wooden" handle.

Then I cut out both main images and adhered them to my scrapbook page using Stampin' Dimensionals to make them "pop" off the page.
This was a lot of time spent to do this one little portion of my scrapbook, but it was worth it. The memories from this trip will stay with me always and this book will help the children to remember it as well!


